Expert guide to the best camera gear for trekking the Rwenzori Mountains, bodies, lenses, power, storage, and protection from rain and cold.
I have watched a lot of very expensive cameras fail on this mountain, and I have watched a handful of battered old bodies wrapped in nothing more than a bin liner keep working flawlessly for two weeks straight. The difference was never the price tag. It was whether the person carrying it understood what the Rwenzori actually does to equipment: the sustained, days-long humidity of the lower forest, the mud that gets into everything, the sudden cold above 4,000 metres, and the simple fact that once you are three days deep into the Central Circuit or the Kilembe Trail there is no camera shop, no replacement battery, and no dry cupboard to leave things overnight. This guide is the gear list I actually give clients before they fly, built from years of watching what works, what fails, and what people wish they had packed differently once they were standing in the Bujuku Valley in the rain. If you want the companion piece on technique, viewpoints, and how to actually use this gear once you have it, our full Rwenzori Mountains photography guide covers that ground in depth; this article is entirely about what to buy, rent, or leave at home before you go.
Why Rwenzori Camera Gear Decisions Are Different From Any Other Trek
Rain, Bogs, and Sustained Humidity
Most mountain photography gear advice is written for dry ranges: the Alps, the Rockies, even Kilimanjaro’s relatively arid upper slopes. The Rwenzori Mountains are not that kind of mountain.
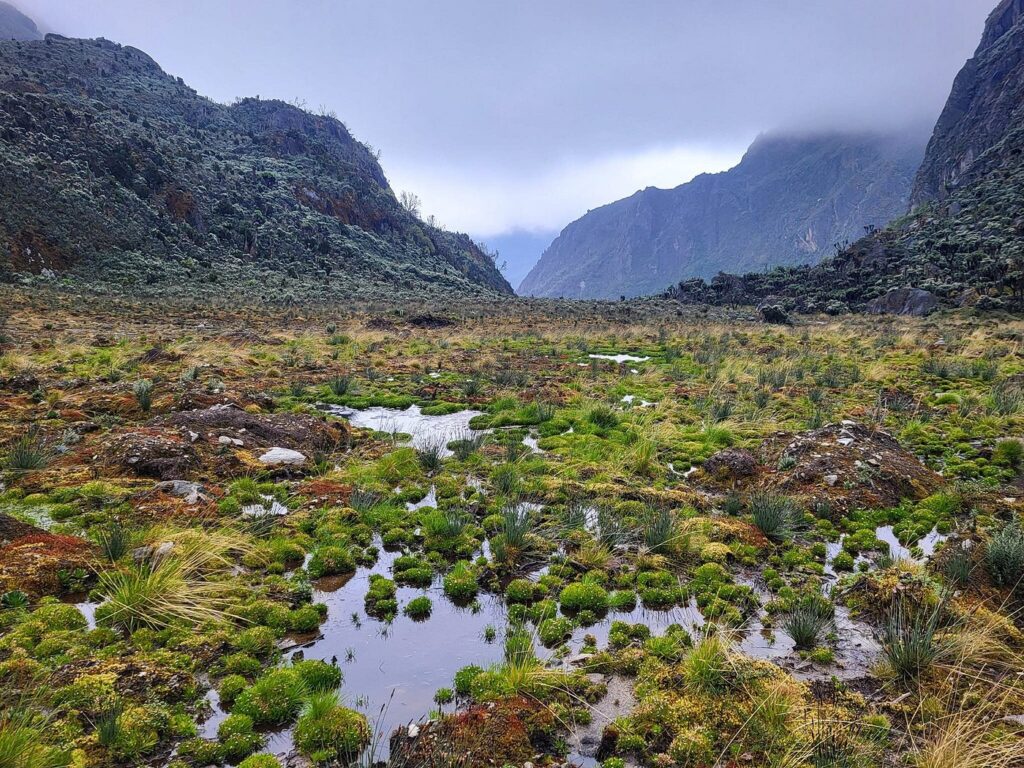
This is one of the wettest ranges in Africa, and the lower and middle sections of every route, whether you are on the Central Circuit or working up through the Kilembe Trail, pass through genuine bog, dripping moss forest, and near-constant airborne moisture that settles on lenses and camera bodies whether or not it is actively raining. Gear decisions here have to start from the assumption that everything will get damp at some point, repeatedly, over a week or more, rather than treating rain as an occasional inconvenience to plan around.
Weight, Porters, and What You Actually Carry Yourself
Camera gear is heavy, and on a Rwenzori trek weight decisions matter in a way they simply do not on a day hike. Your porter allowance is calculated carefully against what our teams can safely carry alongside food, tents, and communal equipment, and while our guide to how many porters you need for a Rwenzori trek covers the logistics in detail, the practical photography implication is this: your camera bag is generally something you carry yourself in your daypack, not something buried in a porter load, since you need access to it constantly. That single fact should shape almost every gear decision below, because the difference between a two-lens kit and a five-lens kit is not really about image quality, it is about whether you can comfortably move through eight hours of trail at altitude with what is on your back.
Altitude, Cold, and Power Constraints
Above roughly 3,500 metres, the Rwenzori adds a second layer of difficulty on top of the wet lower forest: cold that drains batteries fast, thinner air that makes carrying extra weight noticeably harder, and camps with no mains electricity at all. Our detailed breakdown of charging phones and cameras at Rwenzori camps lays out exactly which camps have solar charging and which have none, and it is essential reading before you decide how much battery capacity to bring. Gear that works perfectly at sea level in temperate conditions can behave very differently at Elena Hut or on the approach to Margherita Peak, and the equipment choices that follow are built around that reality rather than around a generic “best camera for hiking” list written for a different kind of mountain entirely.
Choosing Your Camera Body
Mirrorless and DSLR Systems for Serious Photographers
For trekkers who want genuinely strong images, a modern mirrorless body is now the better choice for the Rwenzori over an equivalent DSLR, largely because of weight. A mirrorless body with one or two lenses will typically save you close to a kilogram compared with a comparable DSLR kit, and on a multi-day trek with a full daypack that difference is felt by day four whether or not you noticed it on day one. Weather sealing matters more here than almost any other single spec: look specifically at a body rated for genuine weather resistance rather than one marketed loosely as “splash resistant,” since the Rwenzori will test that rating more thoroughly than most manufacturers’ own test conditions ever do. You do not need the newest or most expensive body on the market. A well-sealed camera two or three generations old, properly protected, will consistently outperform a brand-new unsealed body that lets moisture creep in on day two.
Weatherproofing and Sensor Considerations
Sensor size is a secondary consideration to weather sealing and weight, but it is still worth a moment. A full-frame sensor gives you meaningfully better low-light and high-ISO performance, which matters for the dim, overcast light of the lower forest and for any night photography you attempt on the upper mountain, a subject we cover in full in our guide to astrophotography from the Stanley Plateau. But a full-frame system also means heavier lenses, and a well-chosen APS-C or Micro Four Thirds system, lighter across the board, is a completely legitimate choice for trekkers prioritising comfort over the last stop of dynamic range. Neither choice is wrong; what matters is that whichever system you bring is properly sealed and that you understand its specific weather rating before you commit to carrying it up the mountain.
Why a Smartphone Alone Is a Real, Valid Option
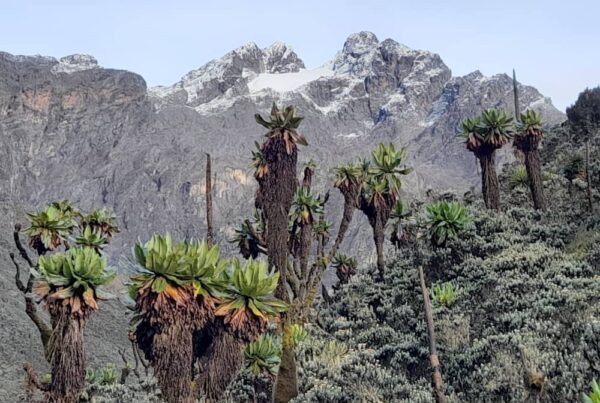
Not every trekker needs, or wants, to carry a dedicated camera, and a modern flagship smartphone genuinely does produce excellent images across most of the Rwenzori’s landscape zones in daylight, particularly the giant lobelia and groundsel fields covered in our guide to the range’s afro-alpine flora and the dramatic ridge views above the cloud line. Where phones fall short is in the two situations that define the mountain’s most spectacular images: low light in the dense lower forest, and any serious attempt at night sky photography from altitude. If your goal is simply to document the trek well rather than to produce portfolio-quality images, a good phone with a genuinely waterproof case is a perfectly sound choice, and it removes an entire category of weight and failure points from your pack.
Lenses: What to Actually Bring
A Single Versatile Zoom for Most Trekkers
If you are bringing an interchangeable-lens camera and want to carry only one lens, a mid-range zoom in roughly the 24-105mm equivalent range covers the overwhelming majority of what the Rwenzori offers: forest detail, mid-distance landscape framing, and reasonably close wildlife encounters. This is the single lens I recommend to most clients who are not dedicated wildlife or astro photographers, because it removes the need to change lenses in wet or dusty conditions, which is itself one of the most common ways moisture and grit get into a camera body on this mountain.
Wide-Angle Glass for Landscapes and Night Sky
For trekkers specifically chasing the wide, dramatic landscape shots this range is known for, the glacier views from Mount Stanley, the still reflections at Kitandara Lakes, the cascades covered in our guide to the waterfalls of the Rwenzori Mountains, a fast wide-angle prime or zoom in the 14-24mm range earns its weight.
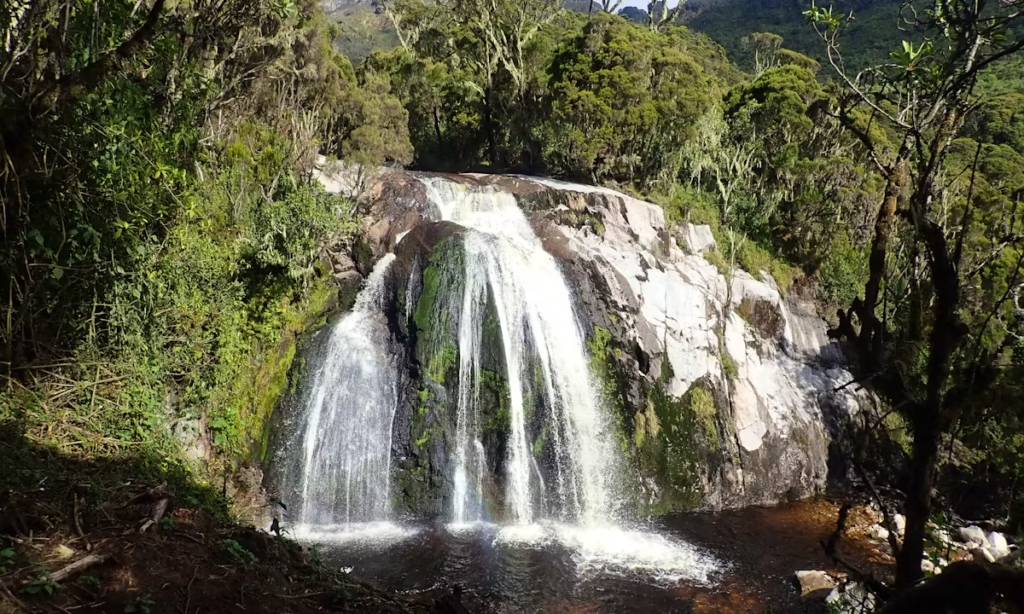
This is also the essential lens if night photography is any part of your plan; our astrophotography guide goes into the specific aperture and exposure settings this focal range needs once the sky opens up over the plateau.
Telephoto Reach for Wildlife and the Rwenzori Turaco
Wildlife photography on the Rwenzori rewards a longer lens more than almost any other gear decision on this list. The forest sections hold genuinely rare species, and our dedicated guide to the Rwenzori turaco recommends at least 300mm of reach for a usable image of this notoriously shy bird, while our three-horned chameleon guide explains why fast, wide-area continuous autofocus matters as much as focal length when photographing slow-moving forest species against cluttered branches. A telephoto zoom is heavy and, for most general trekkers, optional; for anyone with a specific interest in the range’s birdlife or reptiles, it is close to essential.
Tripods, Filters, and Support Gear
A tripod is not optional if night photography, long-exposure waterfall shots, or any serious landscape work is part of your plan, but it is one of the easiest pieces of gear to over-specify. A compact carbon-fibre travel tripod, chosen for low weight over maximum height, will comfortably support a mirrorless or lighter DSLR kit in the wind conditions typical of Elena Hut and the upper plateau without adding meaningful bulk to your pack. Full-size aluminium tripods built for studio or heavy telephoto use are unnecessary weight on this mountain and, in our experience, are the single most commonly abandoned piece of gear partway through a trek. A single circular polarising filter is worth carrying for cutting glare off wet rock and foliage in the forest sections and for deepening sky colour on the rare completely clear afternoon; beyond that, a compact filter kit adds complexity without much practical return given how variable Rwenzori light actually is.
Protecting Your Gear from Rain, Mud, and Condensation
This is the section that matters more than any individual piece of equipment on this list, because the Rwenzori will find any weakness in your protection strategy within the first two or three days. Every piece of electronic gear, camera body, lenses, spare batteries, memory cards, chargers, should live inside a genuinely waterproof dry bag within your daypack, not simply a stuff sack or a plastic bag folded over at the top; the difference matters enormously on a trail that includes stream crossings and hours of sustained rain rather than occasional showers. A rain cover specifically fitted to your camera body and lens is worth carrying even if you also keep the camera in a dry bag between shots, since the moments worth photographing on this mountain rarely wait for the rain to stop. Silica gel packets, several of them, kept inside your camera bag and rotated or dried out periodically, meaningfully reduce internal condensation risk, particularly in the transition zones where temperature swings between the warm, humid forest and the cold upper camps are largest. When you do bring a cold camera into a warmer hut or tent at the end of the day, let it acclimatise inside a sealed bag before opening it up fully, exactly the same condensation principle that applies to summit-night astrophotography gear, and one worth taking seriously on every single night of the trek, not just the technical ones.

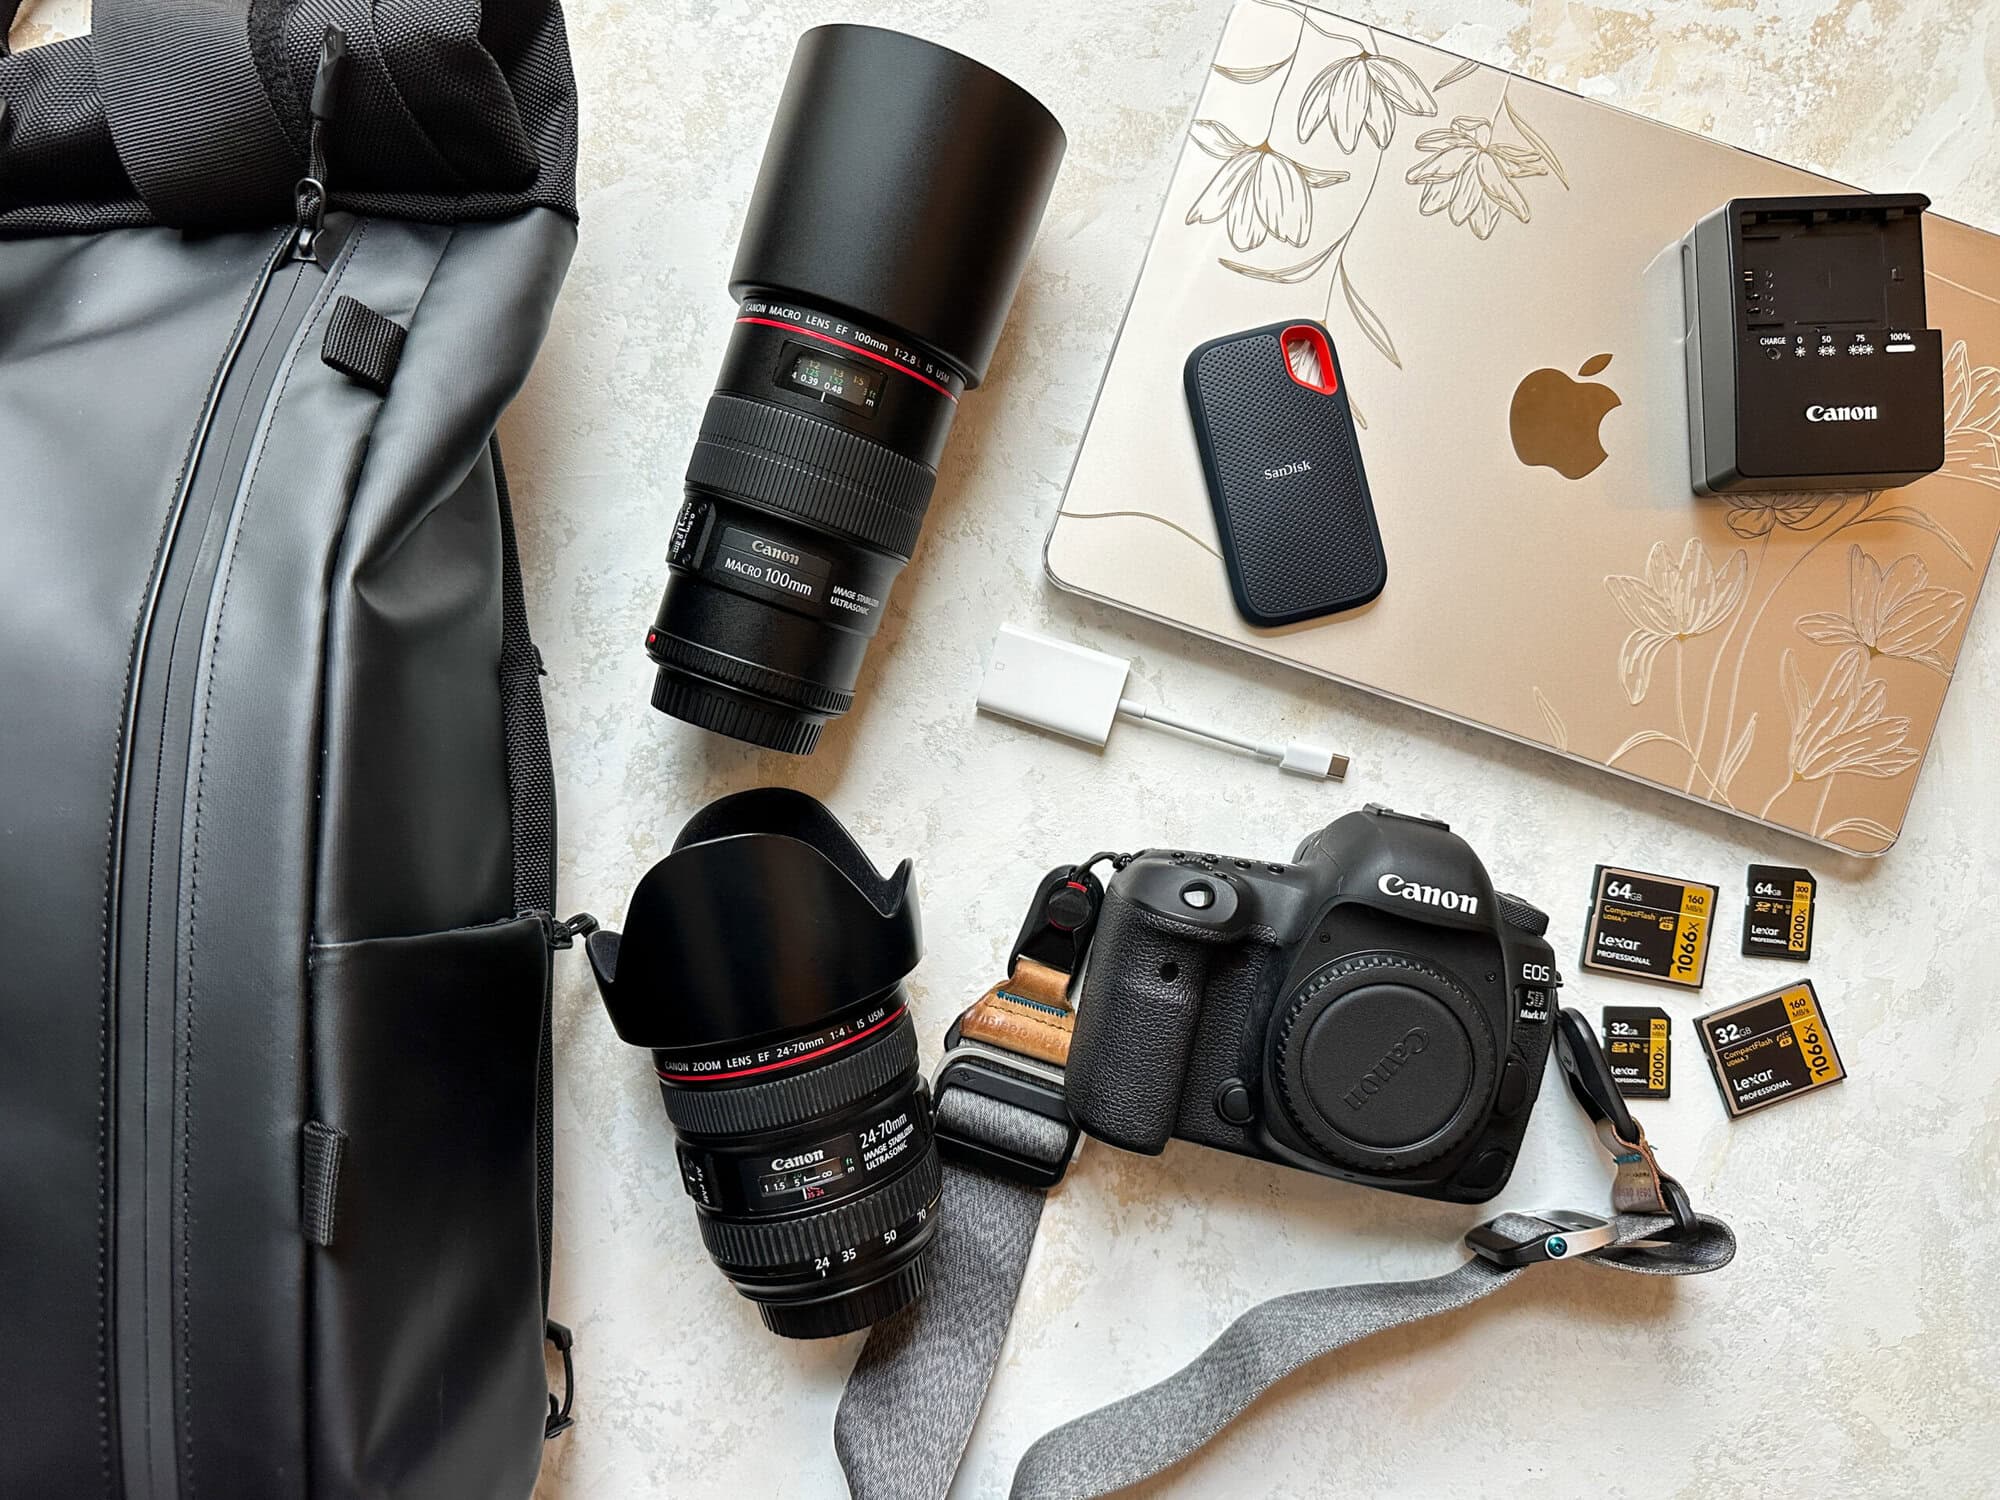
Camera batteries are the most commonly underestimated item on a Rwenzori packing list. Bring more spares than you think you need, at minimum three to four fully charged batteries for a standard mirrorless body on a week-long trek, since cold temperatures above 3,500 metres reduce usable capacity noticeably and there is no way to buy a replacement partway up the mountain. A high-capacity USB power bank, ideally in the 20,000mAh range or larger, is essential for keeping phones, GPS devices, and camera batteries charged via a USB charging dock where solar charging is unavailable, and our camp-by-camp charging guide tells you exactly which nights on your specific itinerary will have solar access and which will not, information worth reviewing before you decide how many power banks to carry. Keep your power bank and camera batteries in the same waterproof, insulated pouch, ideally inside an inner jacket pocket during the coldest overnight stretches, rather than left in an outer pack pocket where cold and moisture both work against them simultaneously.
Storage and Backup Strategy
There is no cloud backup on this mountain, and once an image is lost on the trail it is lost permanently. Carry considerably more memory card capacity than a normal trip would require, particularly if shooting RAW, a minimum of 128GB across two or more cards for a ten-day expedition is a sound baseline, and never rely on a single card for an entire trek. Splitting images across multiple smaller cards rather than one large one limits your exposure if a single card fails or is lost, and backing up each day’s images to a second physical device, a laptop, a rugged SSD, or a second phone, whenever camp conditions allow, is the only real insurance available once you are several days deep into the Central Circuit Trail with no connectivity; our guide to phone signal and WiFi on the Rwenzori Mountains explains exactly how limited that connectivity actually is, which is precisely why a physical backup routine matters more here than on almost any other trek you are likely to have done.
Renting vs Bringing Your Own Equipment
Specialist camera gear, unlike general trekking equipment, is genuinely not something you should plan to rent locally in Kasese or on the mountain, and it is worth being clear-eyed about that before you pack. Our Rwenzori gear rental guide covers what can reliably be rented for a trek, tents, sleeping bags, cold-weather clothing, glacier equipment for a Margherita summit attempt, but camera bodies, lenses, and specialist photography accessories are not part of that inventory, so anything you want to shoot with needs to travel with you from home. What we can help with directly is advice tailored to your specific itinerary and the trail conditions you will actually encounter; if you are unsure whether your existing gear is suitable for a particular route or season, our team can talk you through it before you commit to what goes in your pack.
Drones, Filming, and Permits
If a drone is part of your plans, treat it as a separate logistical project from the rest of your camera kit, and start the paperwork well before you fly. Drone use inside Rwenzori Mountains National Park requires prior authorisation from the Uganda Wildlife Authority, separate from any general aviation clearance, and flights are restricted to daylight hours, within visual line of sight, and below a fixed altitude ceiling above ground level. Our full Rwenzori Mountains photography guide covers the practical filming and drone regulations in more depth; the short version is that this permission takes weeks to arrange, not days, so it needs to be sorted well ahead of your trek dates rather than treated as a same-week decision.
A Practical Packing List by Trekker Type
The right camera kit genuinely depends on who you are as a photographer, and being honest with yourself about that before you pack saves both weight and frustration on the trail. A trekker who mainly wants a strong visual record of the experience is generally best served by a good smartphone in a waterproof case, a compact power bank, and nothing more, keeping the daypack light for what is already a physically demanding route regardless of your fitness, a subject our guide to how hard trekking the Rwenzori actually is covers honestly. An enthusiast photographer who wants genuine landscape and wildlife images without turning the trek into a dedicated photography expedition should look at a single weather-sealed mirrorless body, one versatile mid-range zoom, a compact tripod, and the power and storage redundancy described above. A serious or professional photographer planning dedicated night sky sessions from Elena Hut or the Stanley Plateau, extensive wildlife work in the lower forest, or both, needs the fuller kit: two lenses covering wide and telephoto ranges, a proper carbon tripod, four or more spare batteries, and a deliberate itinerary built with extra acclimatisation nights so that fatigue does not compromise image quality on the nights that matter most.
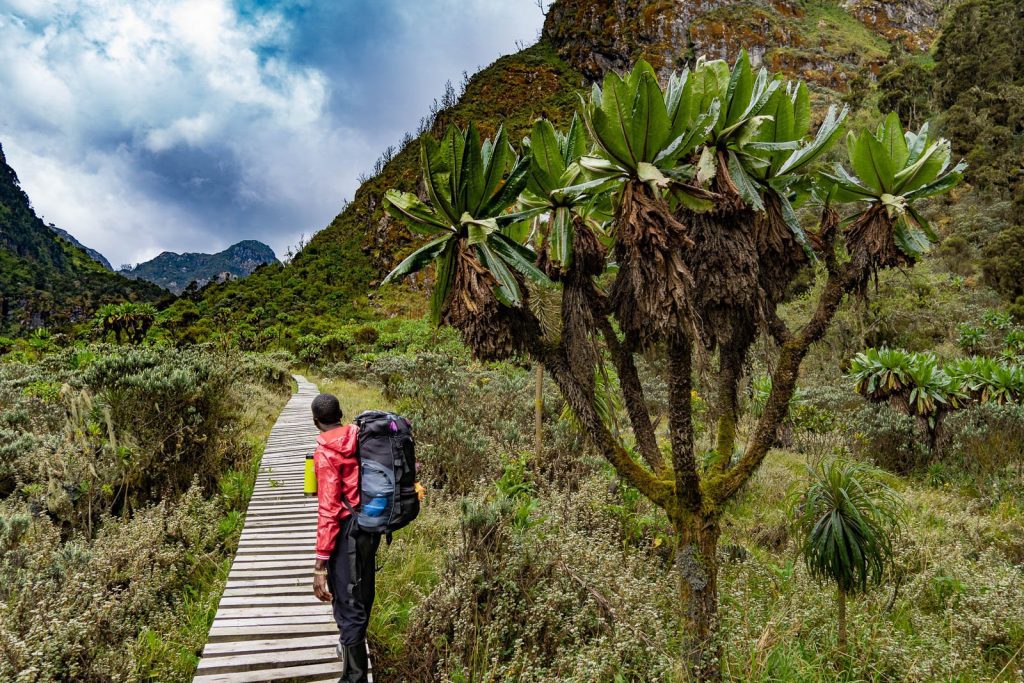
Whichever category you fall into, the itinerary you choose, whether the standard Central Circuit, the steeper Kilembe Trail, or a longer multi-peak expedition, should be discussed with your operator specifically in terms of your photography goals, since the difference between a rushed four-day summit push and a longer, better-acclimatised itinerary is often the difference between gear that survives the trip and gear, or a photographer, that does not.
Frequently Asked Questions
What is the single most important piece of camera gear for a Rwenzori trek?
Waterproofing, more than any specific camera or lens, is what determines whether your gear survives a Rwenzori trek intact. A genuinely waterproof dry bag for your camera body, lenses, batteries, and memory cards matters more than the difference between any two camera models, because this range’s sustained rain and humidity, particularly in the lower forest and bog sections, will find any weakness in a photographer’s protection strategy within the first few days.
Do I need a professional camera, or is a smartphone enough for the Rwenzori Mountains?
A modern smartphone is a genuinely valid choice for most daylight landscape photography on the Rwenzori, including the afro-alpine zones and ridge views above the cloud line, and it removes significant weight and complexity from your pack. A dedicated camera becomes meaningfully better only in low light, such as the dense lower forest, in wildlife photography requiring telephoto reach, and for any night sky photography from the upper camps or Stanley Plateau.
How many camera batteries should I bring on a Rwenzori trek?
Bring a minimum of three to four fully charged spare batteries for a standard mirrorless or DSLR body on a week-long trek, more if you are shooting extensively at night or in cold conditions above 3,500 metres. Cold temperatures reduce usable battery capacity noticeably at altitude, there are no camera shops on the mountain, and several camps along both major routes have no charging infrastructure at all.
Can I rent camera equipment locally for a Rwenzori trek?
No, specialist camera gear, including bodies, lenses, and photography accessories, is not part of the local rental inventory in Kasese or on the mountain. General trekking equipment such as tents, sleeping bags, cold-weather clothing, and glacier gear for a Margherita Peak summit attempt can be rented locally, but any camera equipment you plan to use needs to travel with you from home.
Is it safe to bring an expensive camera on a Rwenzori trek?
Yes, provided it is properly protected. A weather-sealed camera body kept in a waterproof dry bag, handled with silica gel packets to manage condensation, and carried in your own daypack rather than a porter load travels safely on this route. The mountain is genuinely demanding on unprotected equipment, but a well-prepared photographer with the right protection strategy loses very little gear on a standard trek.
Do I need a permit to fly a drone in the Rwenzori Mountains?
Yes, drone use inside Rwenzori Mountains National Park requires prior authorisation from the Uganda Wildlife Authority in addition to any general aviation clearance, and the approval process typically takes several weeks. Flights are restricted to daylight hours, must stay within visual line of sight, and are capped at a fixed altitude above ground level, so this paperwork needs to be arranged well before your trek dates rather than on arrival.
Ready to Plan Your Rwenzori Trek?
Getting the gear right is only half the equation; the other half is an itinerary built with enough time and acclimatisation to actually use it well, rather than a rushed schedule that leaves you too tired to hold a tripod steady on the one clear night of the trip. If you would like route and camp recommendations built specifically around your photography goals, whether that means extra nights at Elena Hut for the sky, additional time in the lower forest for wildlife, or simply a packing list tailored to the season you are travelling in, get in touch with our team and we will help you plan a Rwenzori trek that gets you both the summit and the images you came for. For answers to more general planning questions, our FAQ page is also worth a look while you prepare.